Week 6
This week, we focused on creating collar and basic shirt patterns, a step that added complexity and precision to our pattern-making journey. Building on the bodice block we drafted earlier, we learned how to modify it to include a collar and darts, which required careful measurements and attention to detail. 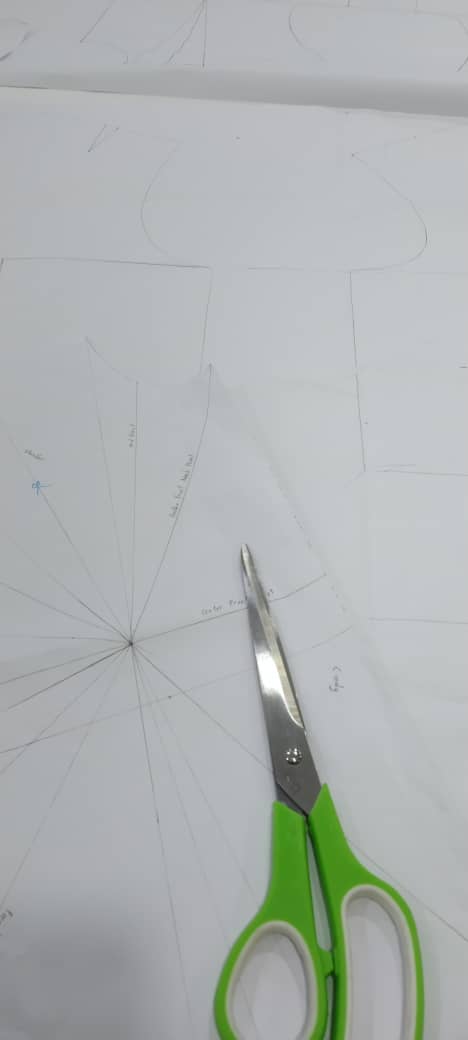
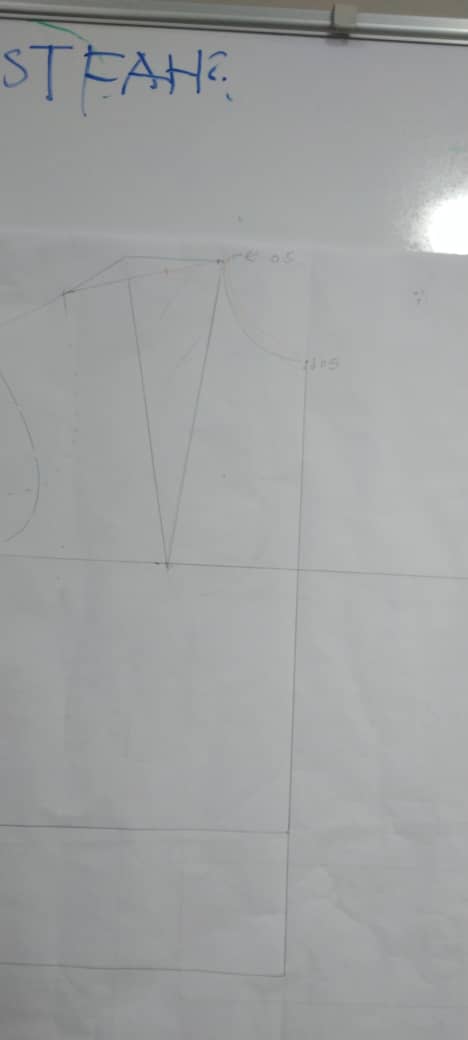
Ms. Melina started by demonstrating how to draft the neckline for the collar, teaching us how to calculate the appropriate measurements to ensure it fits seamlessly. She showed us different collar styles, such as a basic shirt collar and a Peter Pan collar, explaining how each one required slight adjustments to the pattern.
The most challenging part was drafting the collar itself. It involved creating a pattern piece that would curve smoothly around the neckline while maintaining symmetry. Ensuring that the collar matched the bodice perfectly took a lot of focus and precision.
By the end of the class, I had a much better understanding of how collars are designed and constructed.
Week 7

This week, we sewed a basic shirt and learned how to use the buttonhole machine. Starting with the bodice and collar patterns we drafted earlier, we transferred them onto fabric, adding seam allowances and marking darts, notches, and seam lines.

We began by sewing the darts and joining the front and back panels, watching the shirt slowly take shape. Attaching the sleeves was a bit tricky, especially easing the sleeve cap into the armhole, but patience made a difference. Sewing and attaching the collar required precision and careful pressing to ensure it aligned neatly with the neckline.

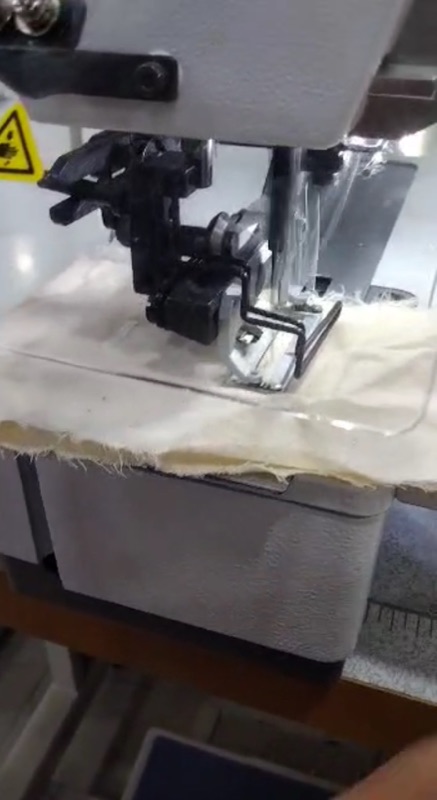
One of the most exciting parts was learning how to use the buttonhole machine to create clean, professional-looking buttonholes. After finishing the hems and adding buttons, the shirt was complete. This week was challenging but incredibly rewarding